

How to Reduce Downtime During Playground Installation
Every day your indoor playground installation runs behind schedule can push back your opening date, increase labor costs, and delay revenue. A missing component, an unprepared site, or a late design decision can leave installation crews waiting while other business expenses continue. For commercial playground owners, avoiding these delays starts before the first piece of equipment arrives. You need coordinated deliveries, a site ready for installation, clear drawings, and defined responsibilities. This guide shows you how to reduce installation downtime, keep work moving, and protect safety and quality without sacrificing your project schedule.
What Causes Downtime During Indoor Playground Installation?
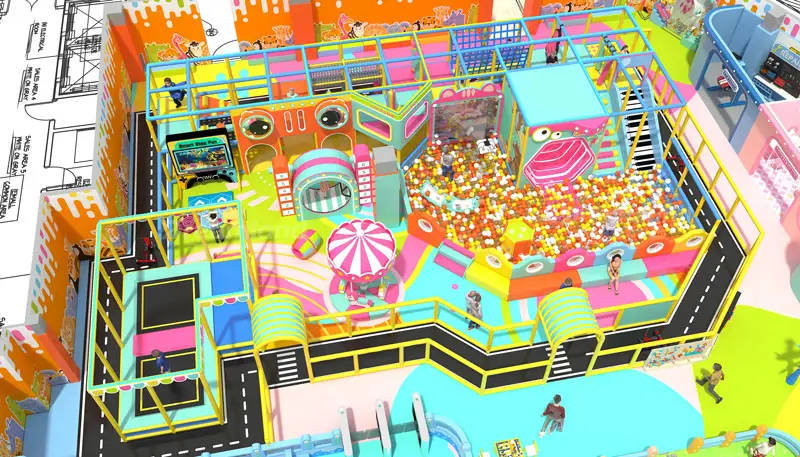
Delays caused by installation downtime are costly for commercial indoor playgrounds. Downtime occurs when a team of installers cannot continue their work for reasons related to the site, the equipment, materials, or the project planning.
- Inadequate site preparation: Problems with the installation area (uneven floors, incomplete walls, blocked routes of access, etc.) and the related services (incomplete electrical installation) that the installation team is unable to work around can force them to wait for other trades to complete their work.
- Missing components: Any missing fasteners, connectors, safety padding, etc. are highlighted, as a section cannot be completed and will require replacement parts to be delivered, potentially taking several days to arrive.
- Inaccurate measurements: Errors in relation to ceiling height, floor dimensions or clearances for equipment can lead to parts not fitting the building’s layout and possible design changes being required.
- Delays with shipping and delivery: Late arrival of components, delays with customs clearance, parts delivered in less-than-perfect packaging and needing repair before delivery, and staggered deliveries.
- Inadequate contractor coordination: On-site installers, electricians, flooring installers and site managers must work together to complete a project. If they don't follow the same schedule, one party will eventually hold up another. This can result in repeated scheduling changes leading to increased labor costs and extended project duration.
This in turn causes further problems and delays, such as installers sitting idle while waiting for delayed deliveries to arrive, subsequent work not being able to be completed on time and delays to the necessary inspections and staff training.
Create a Realistic Playground Installation Timeline
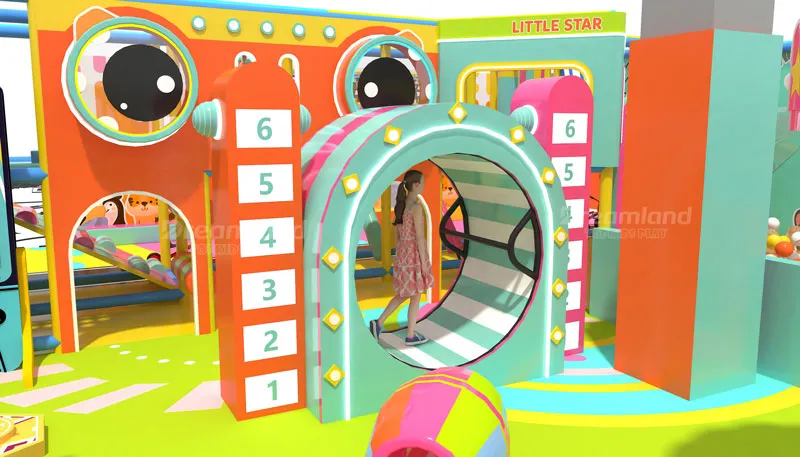
Having a realistic time frame for the installation will allow you to organize the delivery of the equipment and the preparation of the site, as well as the required manpower, and arrange for the necessary inspections to take place before the official opening. Plan the project during the planning stage and avoid leaving it until the equipment has arrived.
Begin by defining each of the key stages of your installation, such as the site being made ready for your arrival, delivery of all equipment and conducting an inventory check, the installation of all equipment, safety inspections of the installation, staff training, and finally the official handover of the completed playground.
Assign a date (by when) and a responsible person (who) to each of the milestones listed above to track progress against the completion of each of them and identify any delays.
Create a network of the tasks to show the order in which they need to be completed. Identify which tasks depend on completion of other tasks (e.g. completion of flooring and other building work before commencing equipment installation in affected areas). Confirm with the playground supplier, contractors, and site manager what installers require in terms of approved layout drawings and components for installation of equipment.
When creating your schedule, it is also wise to verify the availability of required labor for each portion of your project. Installers, electricians, and any other subcontractors that are required to complete the tasks assigned to you will need to be available on the scheduled dates. Also, ensure that the sequence of delivery of equipment matches the sequence of installation outlined in your project schedule.
Finally, add some contingency time for late delivery, missing items, unknown site conditions, and inspections. Don’t treat every working day as productive installation time – review the schedule regularly and update as necessary. A realistic schedule allows for the odd problem to occur without it bringing the whole project to a standstill.
Complete Site Preparation Before Equipment Arrives
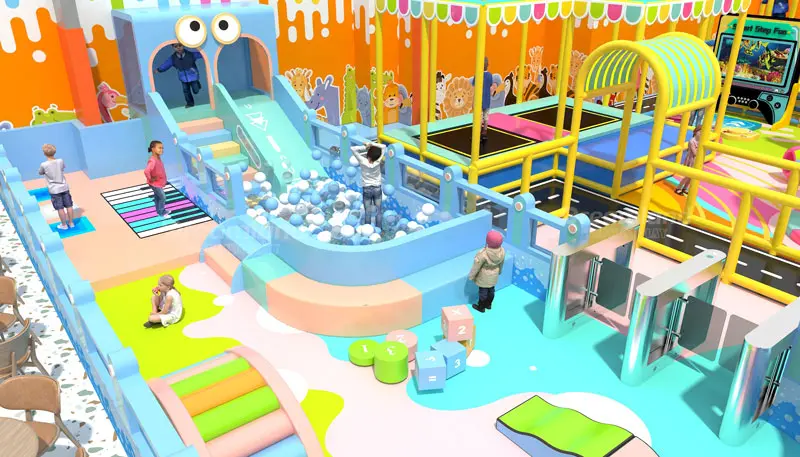
If needed, complete a site readiness check before delivery of equipment to highlight any physical constraints that need to be addressed by the building team prior to installation.
Verify ceiling heights and clearances: Measure ceiling height, beam locations, overhead lighting, sprinklers and ventilation against the playground equipment and planned layout to ensure that there will be sufficient clearance for all items.
Verify floor conditions: Floors must be clean and level, and must be sufficiently stable to support the required flooring and equipment. Any uneven floors, excessive moisture or unfinished flooring must be addressed prior to commencement of installation.
Verify building access routes: Are doors and corridors wide enough for all components? Are there sufficient stairways, lifts and loading facilities? Are there any constraints along the route from the delivery point to the installation area?
Check electrical and building systems: Check the electrical and building systems and complete any work necessary, e.g., installing outlets, lighting, etc. Also verify the locations of the emergency exits, the sprinkler system, etc. It is recommended to have a qualified contractor check these items to identify any potential problems with the proposed playground.
Finish construction work: Complete all construction work, such as painting, wall finishing, flooring preparation, etc., to enable easy installation of playground equipment and to avoid damage to newly installed equipment.
Get the site ready for installation: Share current site measurements, photos of the area and relevant drawings with the supplier/installer. Clear up any misunderstandings before arranging final delivery and installation dates.
This is the reason to verify site measurements against drawings and document any differences. Assign responsibility for any outstanding tasks and set a completion date prior to the installation date to ensure that installers are not left to undertake tasks of contractors, clear access routes of tools and materials, etc.
Confirm Installation Drawings and Equipment Specifications
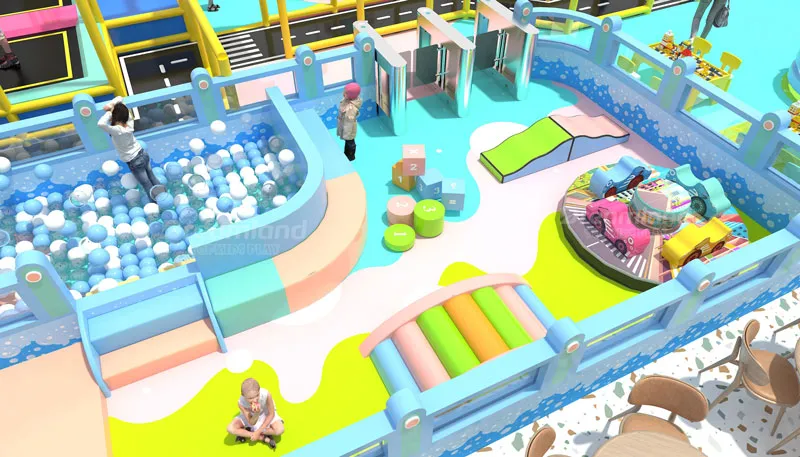
Unclear drawings or a mismatch between the drawings and the actual dimensions of equipment can lead to serious problems with the installation. Until all structural components, safety clearances and connections have been checked against the site and found to be correct, there is a risk that installation may have to be rearranged, modified elsewhere or delayed awaiting further parts.
First, compare the final installation drawings with the corresponding site measurements (e.g. the dimensions of the equipment, the position in which it will be placed, the height of the ceiling, the entry and exit routes, the space needed for the installation and for subsequent maintenance).
Verify the equipment specifications and the component layout (modules, connectors, fasteners, supports, etc.) against the approved design.
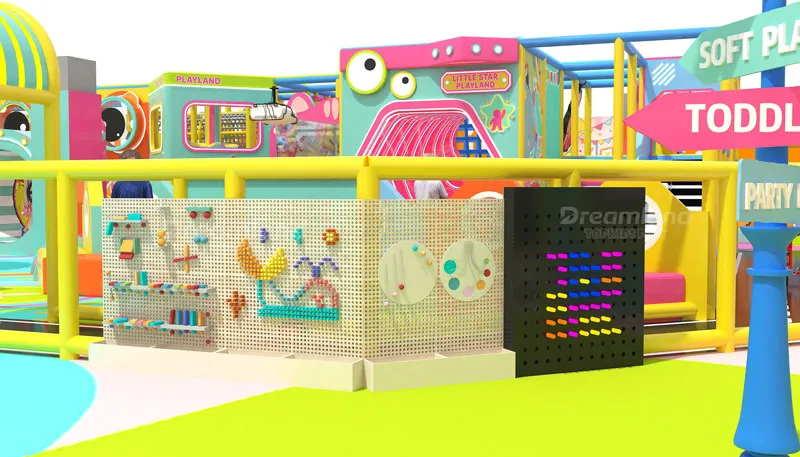
Coordinate Equipment Shipping and On-Site Delivery
For an overseas playground project, shipping needs to be more than just a delivery date. Customs, import documents, land transport, and site access all need to be organized and to be ready at the same time as the installation.
Plan International Shipping and Transit Time
In preparing your overseas playground project for shipment, confirm the estimated time for shipping several weeks in advance of your proposed installation date. Ensure that you allow time for customs clearance and possible delays caused by port congestion. In addition to time spent in inspection at points of entry, there is also the possibility that your freight forwarder may require additional time for inland delivery to your site. It is also wise to remember that your installers will not be able to start work on your playground until all equipment has arrived at your site and is ready for assembly.
Prepare Customs Documents Before Dispatch
Understand who the importer of record is (i.e., who is importing the goods into the country) and who is responsible for customs clearance at destination. Make sure all necessary documents are completed correctly prior to dispatch, including the commercial invoice, packing note, Bill of Lading/Air Waybill, plus any necessary permits or other documentation required by the country of destination. Your freight forwarder should also review all the documentation prior to dispatch to highlight any missing information that may cause delay through customs.
Confirm Delivery Access and Unloading Arrangements
It is also important to confirm with the local site manager any playground delivery access restrictions, hours of delivery, and unloading arrangements for the playground equipment. If storage of the equipment on-site is required before installation, then this must also be confirmed. Also request a detailed list of contents from the supplier for the consignment before delivery and attempt to deliver equipment in the same order in which it will be installed.
Track Shipment Progress and Coordinate the Installation Team
Clear communication milestones must be established and shared with the supplier, freight forwarder, site manager, and the installation team for the following events: dispatch of the shipment; updates on the shipment while it is in transit; customs clearance; and confirmation of delivery at destination. Ensuring that everyone is aware of any delays as soon as possible will enable any necessary adjustments to be made to labor bookings or delivery arrangements prior to the arrival of the installation team.

Check and Organize Playground Equipment Before Assembly
Before assembly begins, use this checklist to confirm that equipment is accounted for, inspected, and ready for the installation team.
- Inventory verified: All delivered packages and components match the packing list.
- Damage documented: Damaged items are photographed, recorded, and reported to the supplier.
- Missing parts reported: Shortages are documented, with replacement arrangements confirmed where necessary.
- Packages labeled and sorted: Components are grouped according to the approved layout and installation sequence.
- Assembly instructions available: The team has the latest installation drawings, assembly instructions, and relevant technical specifications.
- Storage and access confirmed: Equipment is stored safely, and installation areas and walkways remain clear.
- Outstanding issues communicated: The installation lead knows which components are ready and which require follow-up.
- Equipment formally handed over: The responsible site representative and installation lead confirm inventory status and readiness before assembly begins.
Completing this checklist gives your installation team a clear starting point, reduces uncertainty about component availability, and helps prevent avoidable interruptions once assembly is underway.
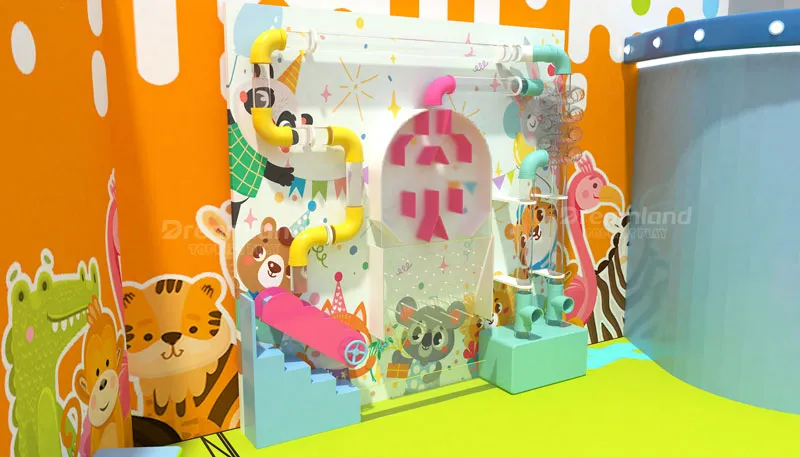
Improve Coordination Between Installers and Local Contractors
The biggest problem on a playground project is usually the coordination between the playground installer and the local contractors, such as electricians, flooring specialists, general builders, etc. It is easy for tasks to be left unfinished or for conflicting activities to take place when individual teams work to their own schedule. The key is clear responsibilities and communication.
Assign a Dedicated Project Coordinator
A single project coordinator handles communications with the playground supplier and the various installation teams and local contractors such as the electricians and flooring installers. They monitor and track various milestones and outstanding tasks and can confirm dates for a project’s completion. Responsibilities need to be clearly defined in relation to items such as site preparation, safety checks, equipment assembly and final handover.
Establish Daily Progress Updates
Regular brief meetings should be held each day and cover items completed, work to be done, equipment required, and any impediments that may stop work from commencing on time the following day. Record all updates in a shared progress tracking spreadsheet detailing the Task, Owner, and Date by which work is to be completed, along with any outstanding Issues and Actions required to resolve them.
Coordinate Construction Activities
Plan the construction activities in the correct order. Ensure all building works and floor finishes are complete before installing equipment in the affected area. Coordinate the installation of any electrical works and other building services with the approved playground layout to avoid any potential conflicts. Do not allow more than one team to work in the restricted area affected by their activities.
Resolve Technical Questions Promptly
Give the installers the latest drawings, specifications and instructions for assembly. If a bit of equipment does not fit, or some feature of the building does not fit with the playground layout, then contact the manufacturer or the relevant qualified person. Document the problem, assign someone to sort it out, and make sure you have their agreement to any changes in the end. Do not make do with something that could be dangerous or that could cost more to put right in the long run.
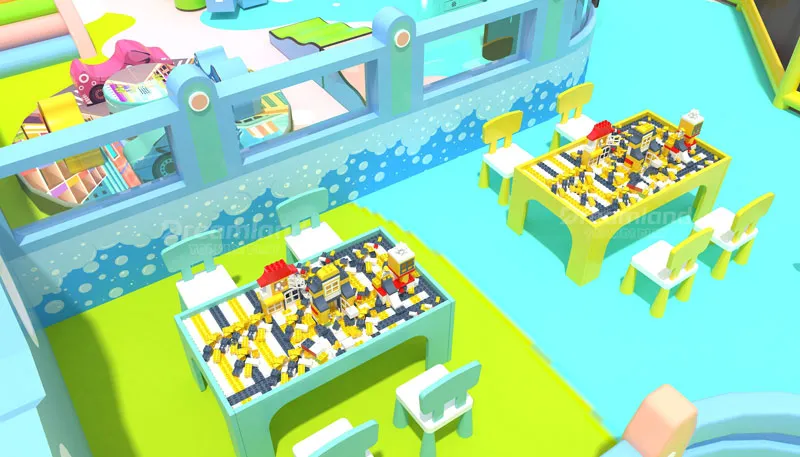
Follow an Efficient Installation Sequence to Avoid Rework
Installing playground equipment in the wrong order can require your team to take apart parts of the playground that have already been completed and reposition them, rework already completed parts of the playground, etc. This can be avoided by completing each stage of installation according to the approved installation drawings and manufacturer’s instructions.
Follow the Approved Assembly Sequence
Review your installation drawings and manufacturers’ instructions with the installation lead before the installation begins. Establish the best order in which the structural components, platforms, play components, soft play surfaces and impact-absorbing surfaces should be installed to form the playground. Each piece of equipment is different, and therefore the assembly sequence will vary between models.
Divide Installation into Manageable Phases
Divide and conquer: define stages within the overall installation plan based on sections of the approved playground design. For example, the installation of one play area or structural element can be completed before moving on to another area. Assign each section to a member of the team and make sure they have all required parts, equipment, and personnel before starting work on that section.
Coordinate Assembly with Other Construction Activities
Confirm that relevant construction work (such as flooring, electrical work, etc.) has been completed to allow safe installation of playground equipment. Coordinate the movement of materials and installation teams to ensure that they do not obstruct each other and do not damage completed construction. Where possible, try to complete work in parallel and agree access and task boundaries in advance.
Inspect Each Section Before Proceeding
Verify whether all parts have been correctly mounted and whether all connections have been correctly fastened. Also check for any missing parts or damage. Check whether all parts are correctly aligned and whether required clearances to other objects have been maintained. Document any defects or discrepancies and clear these with the relevant person before making any repairs. Repairs addressing technical or safety-related issues must be approved by the relevant qualified person.
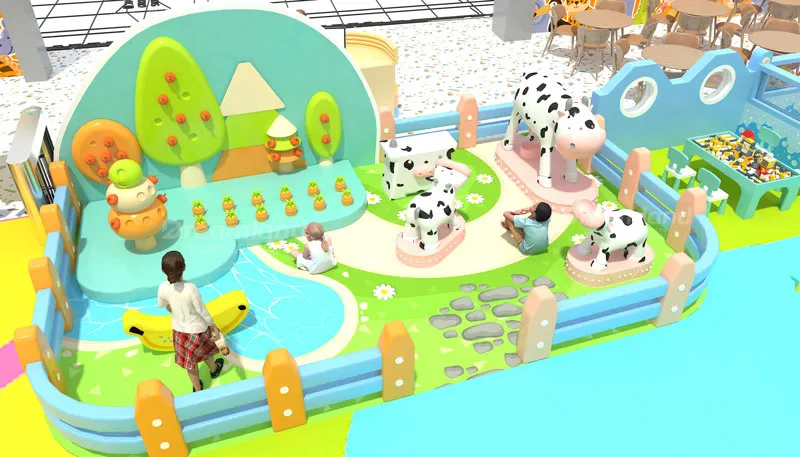
Resolve Installation Problems Quickly Without Compromising Safety
Delays in your playground installation can be costly in the long run. Discrepancies or missing components, different site conditions than originally represented, and conflicts between your various contractors can all stop work and affect subsequent tasks. However, by establishing a clear process to report and resolve problems on site, you can ensure that you continue to make progress while maintaining safety.
Report Problems and Assign Responsibility
All issues have to be reported by the installers/contractors immediately and documented by the responsible person. The responsible person has to check if the reported issue affects the installation schedule and start to coordinate the next steps. Details of missing parts have to be clarified with the supplier as soon as possible, and the supplier has to confirm delivery of replacement parts.
Document Solutions and Confirm Technical Changes
An unexpected dimension on a piece of equipment or a building feature that conflicts with your installation may mean that you have to temporarily stop work on that section. If you have any problems with your installation, contact the manufacturer or the qualified person whom you contacted when you purchased the equipment. Make a record of the problem and the proposed solution(s), get the solution(s) approved, and make sure that all affected parties are informed of any changes to the schedule.
Adjust the Schedule Without Creating New Risks
If for any reason an installation task is delayed, try to identify other approved tasks that can be safely executed by your team in the meantime. Inform the relevant contractor and agree on the best way to prevent idle time. Update your project schedule and inform all relevant team members of the new deadlines.
Complete Safety Checks Before Opening
Do not mistake the end of the installation work for the opening of the playground. Arrange for the required inspections and tests as stipulated by the manufacturer of the equipment, general standards, and local regulations. Check structural connections, anchoring, protective surfacing, clearances, etc. Record any defects, carry out the required corrections, and update the records after final approval.

Conclusion
Reducing indoor playground installation downtime begins long before arrival. Preparing the site, reviewing and confirming installation drawings and related components, planning for timely and efficient shipping and delivery, laying out and organizing all required components, and establishing clear lines of communication with the team of installers and local contractors hired to complete the installation are all key strategies to minimize potential problems and avoid unexpected and costly delays and resulting rework before damage occurs.
Frequently Asked Questions About Playground Installation Downtime
1. What are the most common causes of indoor playground installation delays?
Common causes include incomplete site preparation, shipping delays, missing components, design conflicts, and poor contractor coordination.
2. How can I prepare my site to avoid installation downtime?
Verify measurements, finish construction, clear access routes, and confirm that the site matches approved installation drawings.
3. How can better planning shorten the playground installation timeline?
Set realistic milestones, coordinate contractors, confirm equipment availability, and allow contingency time for unexpected issues.
4. What should I do if playground equipment arrives with missing or damaged parts?
Document the issue, photograph damaged items, notify the supplier, and arrange replacements before affected components are needed.
5. How can I speed up playground installation without compromising safety?
Organize equipment, follow manufacturer instructions, coordinate installers, resolve issues promptly, and complete all required safety inspections before opening.